In this article you will learn how to set up an environment for modern applications, which typically consist of frontend, backend, monitoring and storage. We are going to use GitHub and GitHub Actions to automate build and deploy, and bicep for deploying Azure resources declaratively.
Prerequisites:
- Visual Studio Code
- VS Code bicep extension
- Download and install bicep cli. (optional)
- A GitHub account
- Azure account.
We are going to create following resources:
- App Service Plan
- App Service to host backend application
- Azure Static Web App to host frontend
- Application Insights for monitoring and logging.
Source code for this blog post.
Let's begin.
Open VS Code and create a file main.bicep
First, we'll create just one resource: App Service Plan. Copy/paste following code:
param appServicePlanName string = 'BicepIsTheBest'
param skuName string = 'F1'
param skuTier string = 'Free'

var location = resourceGroup().location

resource appServicePlan 'Microsoft.Web/serverfarms@2021-03-01' = {
  name: appServicePlanName
  location: location
  sku: {
    name: skuName
    tier: skuTier
  }
}
We start with defining some parameters with default values, then we grab the location from Resource Group location and create an App Service plan with free tier.
Bicep supports a file for input parameters. Create a file and name it deploy.parameters.json and paste parameter values we are going to use for deployment:
{
    "$schema": "https://schema.management.azure.com/schemas/2019-04-01/deploymentParameters.json#",
    "contentVersion": "1.0.0.0",
    "parameters": {
      "appServicePlanName": {
        "value": "BicepIsTheBest"
      },
      "skuName": {
        "value": "F1"
      },
      "skuTier": {
        "value": "Free"
      }
    }
}
Create a folder .github and workflows (this is the GitHub actions convention). Create a file and give it a name, for example CreateEnvironment.yml, and paste the following code:
name: Create environment

on:
  push:
    branches: [ main ]
  pull_request:
    branches: [ main ]
  workflow_dispatch:

jobs:
  create-environment:
    runs-on: ubuntu-latest
    steps:

    - name: Checkout code
      uses: actions/checkout@main

    - name: Log into Azure
      uses: azure/login@v1
      with:
        creds: ${{ secrets.AZURE_CREDENTIALS }}

    - name: Azure CLI Create resource group
      uses: Azure/cli@1.0.4
      with:
         inlineScript: az group create -n MyVeryBestResourceGroup -l 'West Europe'

    - name: Deploy Bicep file
      uses: azure/arm-deploy@v1
      with:
        subscriptionId: ${{ secrets.AZURE_SUBSCRIPTION }}
        resourceGroupName: MyVeryBestResourceGroup
        template: main.bicep
        parameters: deploy.parameters.json
Let' go through this file.
Name
This is the name of your Workflow.
On
Here, we are specifying when this workflow should run. In this example this workflow will be run each time on push on main branch, on pull request to the main branch and workflow dispatch means that you can run workflow manually.
Jobs
We have only one job called create-environment and this job has multiple steps.
Service Principal
Take a look at the syntax ${{ secrets.AZURE_CREDENTIALS }}. To connect GitHub with Azure subscription you have to create service principal. Run following commands in your favorite command line tool:
az login

az account set --subscription subscription_id_guid

az ad sp create-for-rbac --name ServicePrincipal --role contributor --sdk-auth
Copy the output of the last command and navigate to the Settings -> Secrets -> New repository secret

Name it AZURE_CREDENTIALS and paste the value. Take good care of these values, you will never see them again. Now we can access these variables from .yml-file like this:
${{ secrets.AZURE_CREDENTIALS }}
Next, we create a Resource Group using Azure CLI command like this:
az group create -n MyVeryBestResourceGroup -l 'West Europe'
And the last step is where we specify which bicep file to use with parameters.
Linter
Create one more file and call bicepconfig.json. Copy and paste following code
{
    "analyzers": {
        "core": {
            "verbose": false,
            "enabled": true,
            "rules": {
                "no-hardcoded-env-urls": {
                    "level": "error",
                    "disallowedhosts": [
                        "management.core.windows.net",
                        "gallery.azure.com",
                        "management.core.windows.net",
                        "management.azure.com",
                        "database.windows.net",
                        "core.windows.net",
                        "login.microsoftonline.com",
                        "graph.windows.net",
                        "trafficmanager.net",
                        "vault.azure.net",
                        "datalake.azure.net",
                        "azuredatalakestore.net",
                        "azuredatalakeanalytics.net",
                        "vault.azure.net",
                        "api.loganalytics.io",
                        "api.loganalytics.iov1",
                        "asazure.windows.net",
                        "region.asazure.windows.net",
                        "api.loganalytics.iov1",
                        "api.loganalytics.io",
                        "asazure.windows.net",
                        "region.asazure.windows.net",
                        "batch.core.windows.net"
                    ]
                },
                "no-unused-params": {
                    "level": "error"
                },
                "no-unused-vars": {
                    "level": "error"
                },
                "prefer-interpolation": {
                    "level": "error"
                },
                "secure-parameter-default": {
                    "level": "error"
                },
                "simplify-interpolation": {
                    "level": "error"
                }
            }
        }
    }
}
bicep Linter provides you with a set of standard rules to determine if your templates are compatible with best practices. It will for example check if all parameters are used.
Now it is time to commit and push all changes to the GitHub repository.
Check that you get the Action, called Create environment and it started to run:
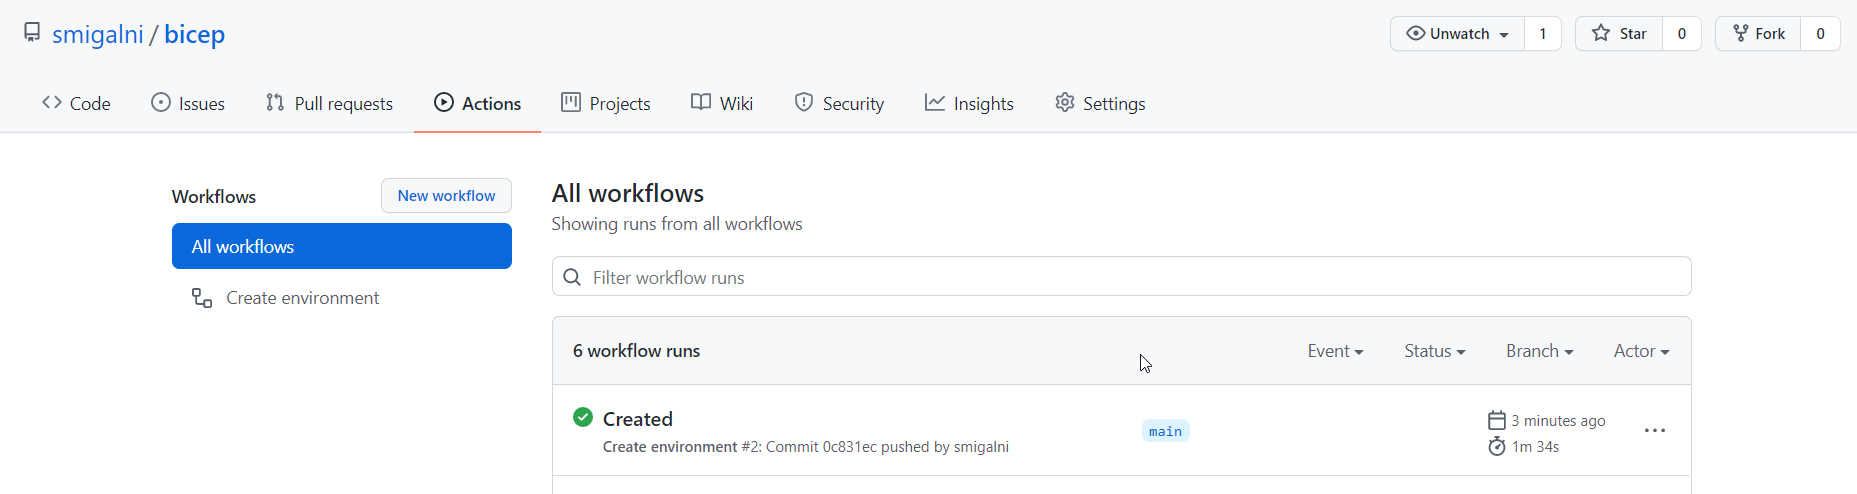
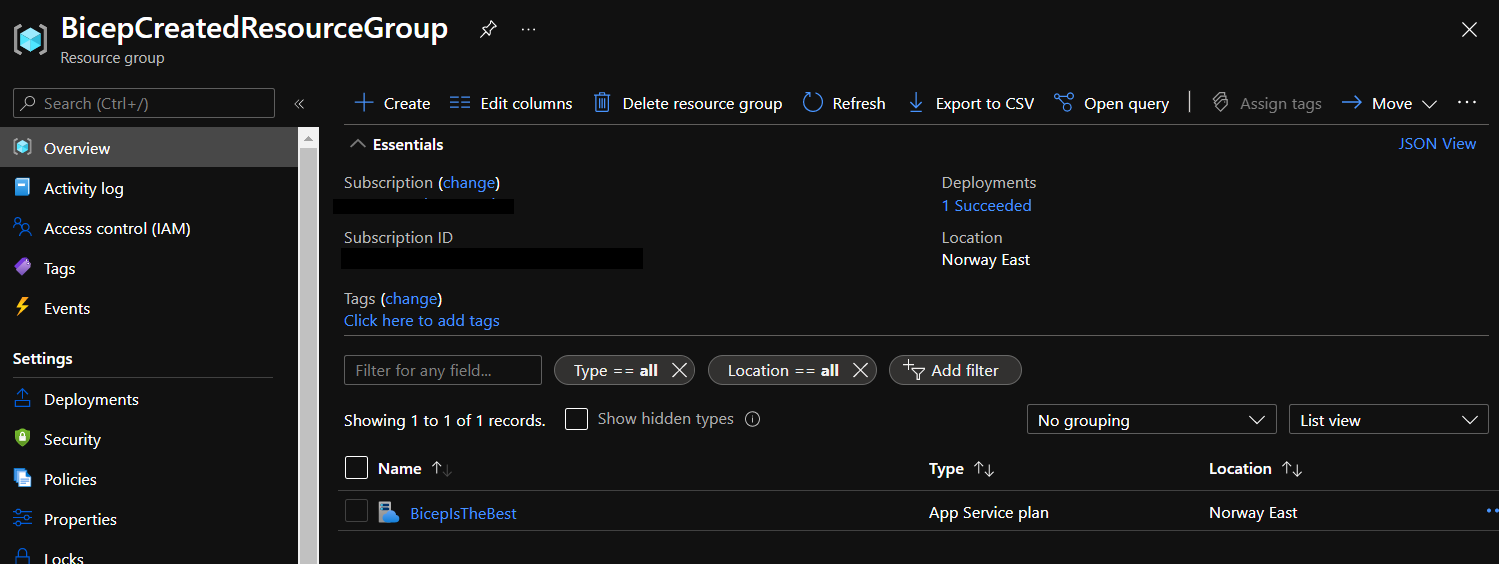
After a while the Workflow goes green, and you have created a Resource Group, and an App Service plan.
Now, when everything is working let's add more resources. Open the main.bicep file and add the following code for Application Insights:
resource insights 'Microsoft.Insights/components@2020-02-02' = {
  name: appServicePlanName
  location: location
  kind: 'web'
  properties: {
      Application_Type: 'web'
  }
}
Nothing interesting here.
Add the following code to create an App Service:
resource appService 'Microsoft.Web/sites@2021-03-01' = {
  name: appServiceName
  location: location
  dependsOn: [
    appServicePlan
  ]
  properties: {
    siteConfig: {
        appSettings: [
            {
                name: 'APPINSIGHTS_INSTRUMENTATIONKEY'
                value: insights.properties.InstrumentationKey
            }
        ]
    }
    serverFarmId: appServicePlan.id
  }
}
Here is a couple of interesting things. Check how we are getting Instrumentation key for Application Insights and look how we are connecting App Service Plan with App Service.
Now let's create an Azure Static Web App, copy/paste following code:
resource staticWebApp 'Microsoft.Web/staticSites@2021-01-01' = {
  name: staticWebAppName
  location: 'West Europe'
  tags: staticWebAppTags
  properties:{}
  sku:{
    name: skuTier
  }
}
And add some more parameters to the deploy.parameters.json file:
{
  "$schema": "https://schema.management.azure.com/schemas/2019-04-01/deploymentParameters.json#",
  "contentVersion": "1.0.0.0",
  "parameters": {
    "appServicePlanName": {
      "value": "BicepIsTheBest"
    },
    "appServiceName": {
      "value": "BicepIsTheBest"
    },
    "skuName": {
      "value": "F1"
    },
    "skuTier": {
      "value": "Free"
    },
    "staticWebAppName": {
      "value": "BicepIsTheBest"
    }
  }
}
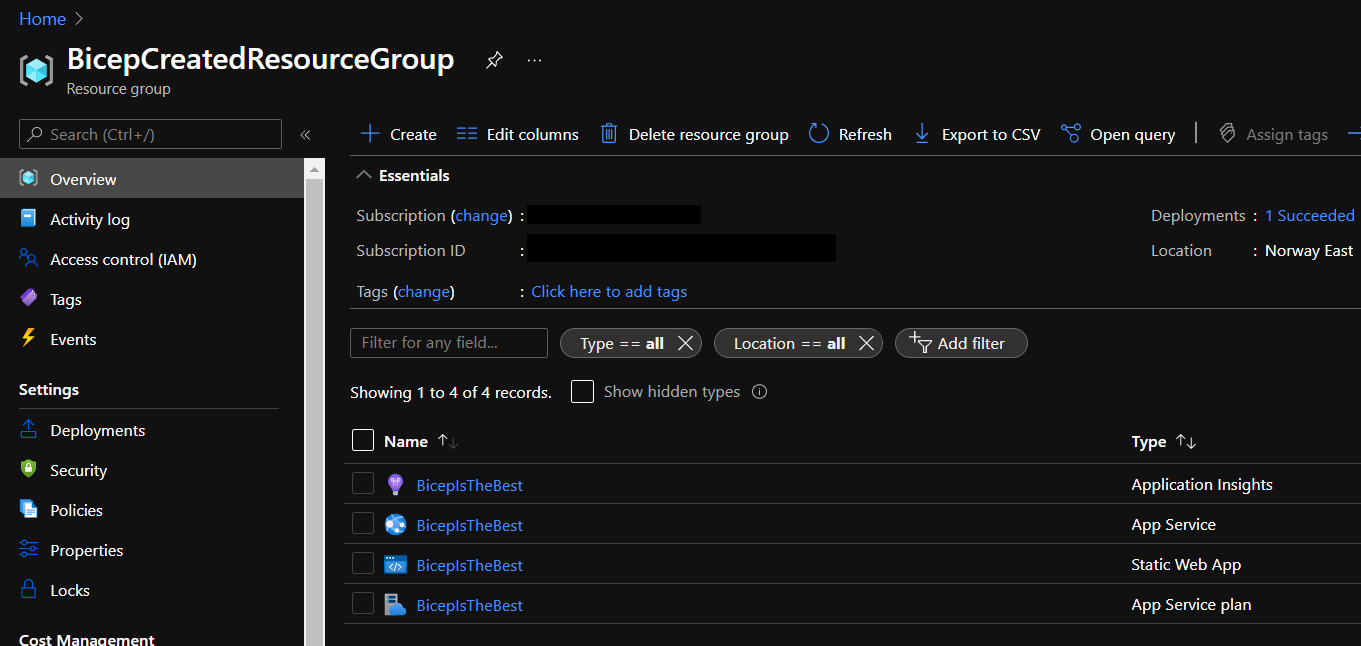
Commit and push your code. Check Azure Portal, the environment should look like this.
Summary
In this tutorial we created all necessary resources in the Azure portal to host an application using GitHub, GitHub Actions and Bicep as a domain-specific language (DSL).