
A headless CMS is free of the presentation layer, and focuses entirely on the content. It does not ship with any frontend template structure or middleware for hijacking the pipeline.
By choosing a headless CMS you can more freely choose which technology you wish to build your application with, since all communication is done via an API. Its also more convenient to use the same data foundation for multiple clients this way. It can be viewed more as a service or a repository on which you query to retrieve data.
In this example, we'll look into Sanity CMS, and use a ASP.NET core web app as the client. We'll also make use of a .NET core Sanity client implementation by Olav (which can be found here https://github.com/onybo/sanity-client).
Get it up and running
Here's what we'll do:
- create the Sanity project
- create schemas for the CMS content types
- create a ASP.NET core client, retrieve and display data
Sanity project
The first thing you do is to create a sanity project:
npm install -g @sanity/cli
and then run sanity init, which gives you a log in process where you define your first dataset to hold your schemas.
Next you start the sanity studio, where you edit your content:
Sanity start
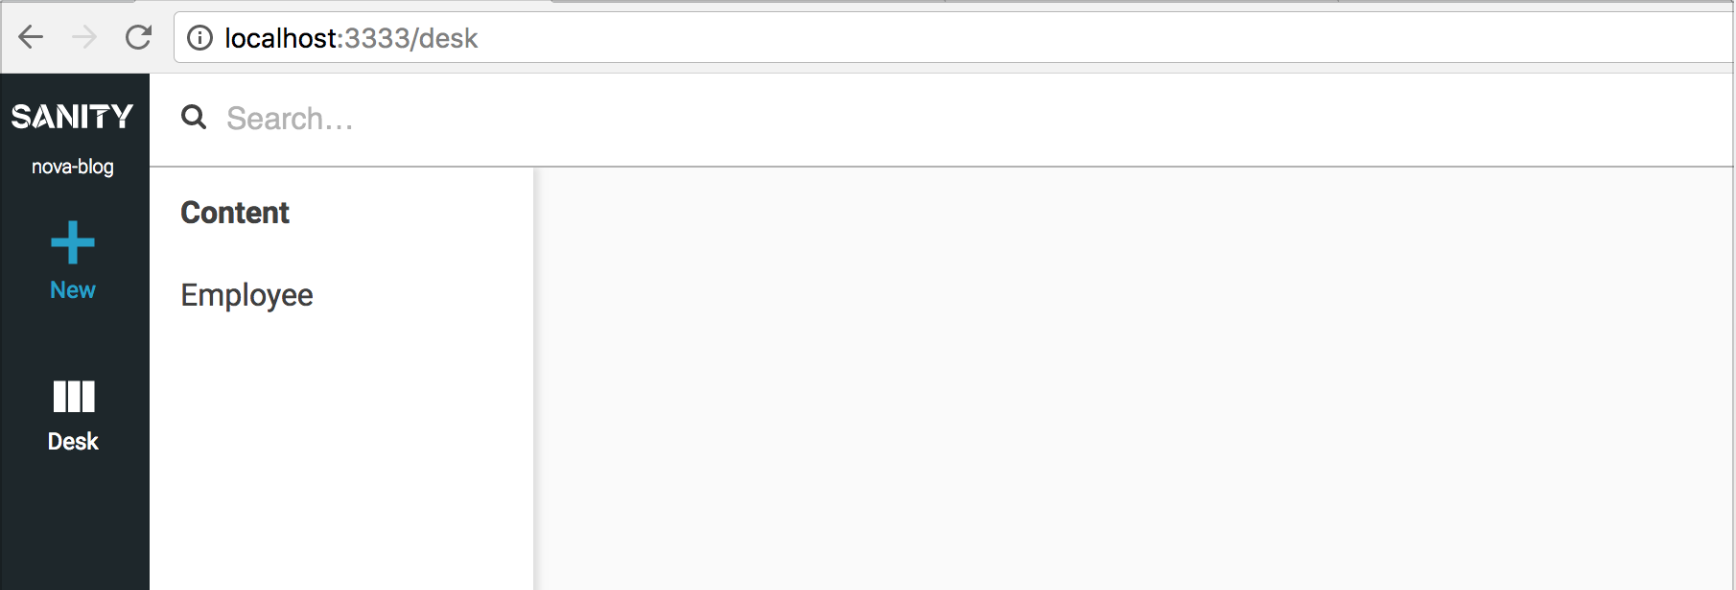
Which gives you a locally hosted studio:
![]()
(You can also host the studio in Sanity’s own system by running sanity deploy. You’ll be given a studio at <your-studio>.sanity.studio.)
The schema
In this example, we’ll display a list of employees and display the name, image, position and bio.
So, we need a schema for our employee type. Schemas are JSON-structured files defining which properties a given schema has in your project.
Employee schema, defined in the studio project:
export default {
  name: 'employee',
  title: 'Employee',
  type: 'document',
  fields: [
    {
      name: 'name',
      title: 'Name',
      type: 'string'
    },
    {
      name: 'slug',
      title: 'Slug',
      type: 'slug',
      options: {
        source: 'name',
        maxLength: 96,
        auto: true
      }
    },
    {
      name: 'image',
      title: 'Image',
      type: 'image',
      options: {
        hotspot: true
      }
    },
    {
      name: 'position',
      title: 'Position',
      type: 'string'
    },
    {
      name: 'bio',
      title: 'Bio',
      type: 'text',
    }
  ],
  preview: {
    select: {
      title: 'name',
      media: 'image'
    }
  }
}
The various schema types are described here https://www.sanity.io/docs/reference/schema-types.
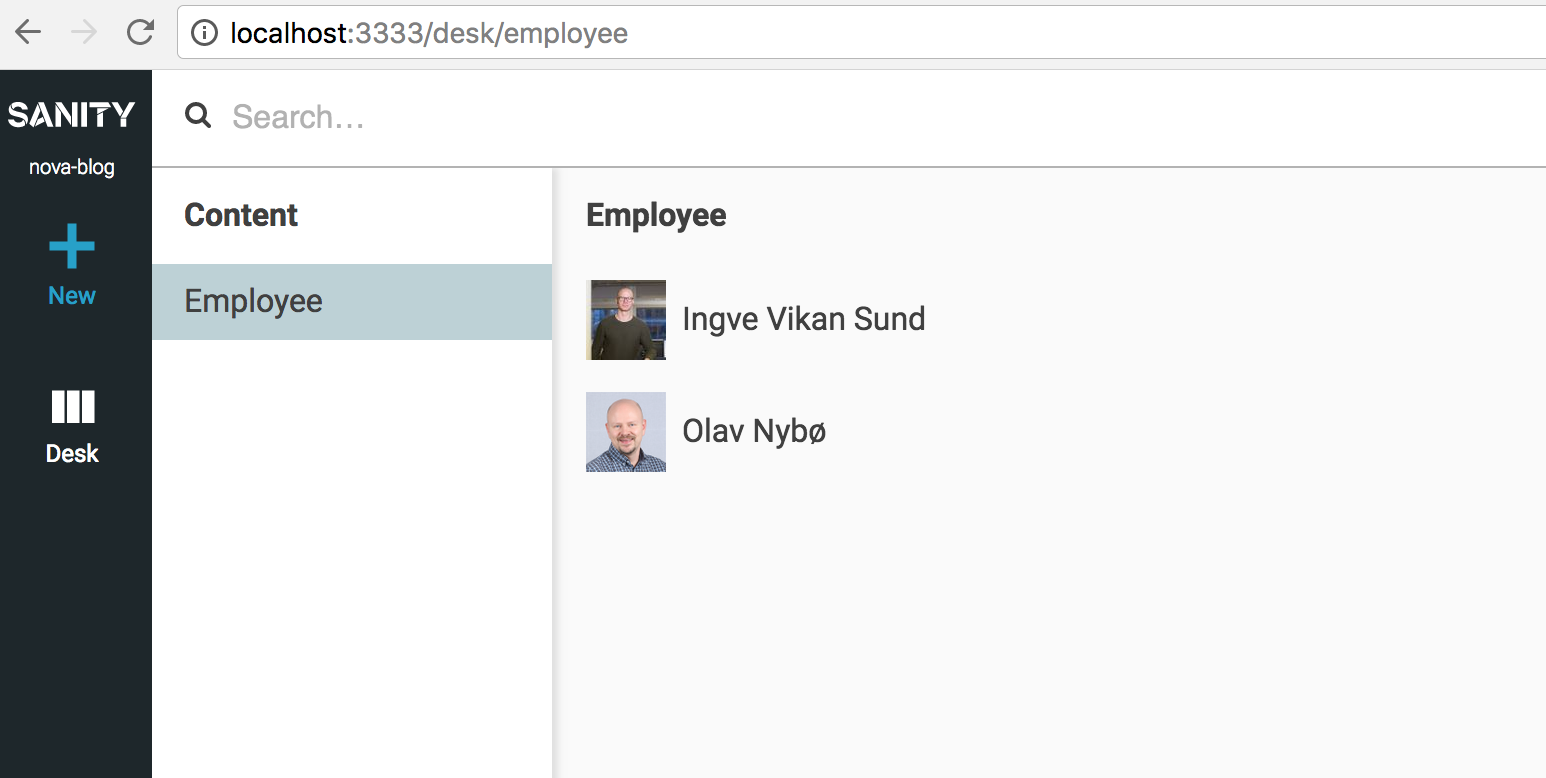
The schema shows up as a content option in the studio:
Next, we enter a couple of employees in the sanity studio:
ASP.NET core setup and retrieving data
You will need your project id, dataset name and a token generated in your project settings.
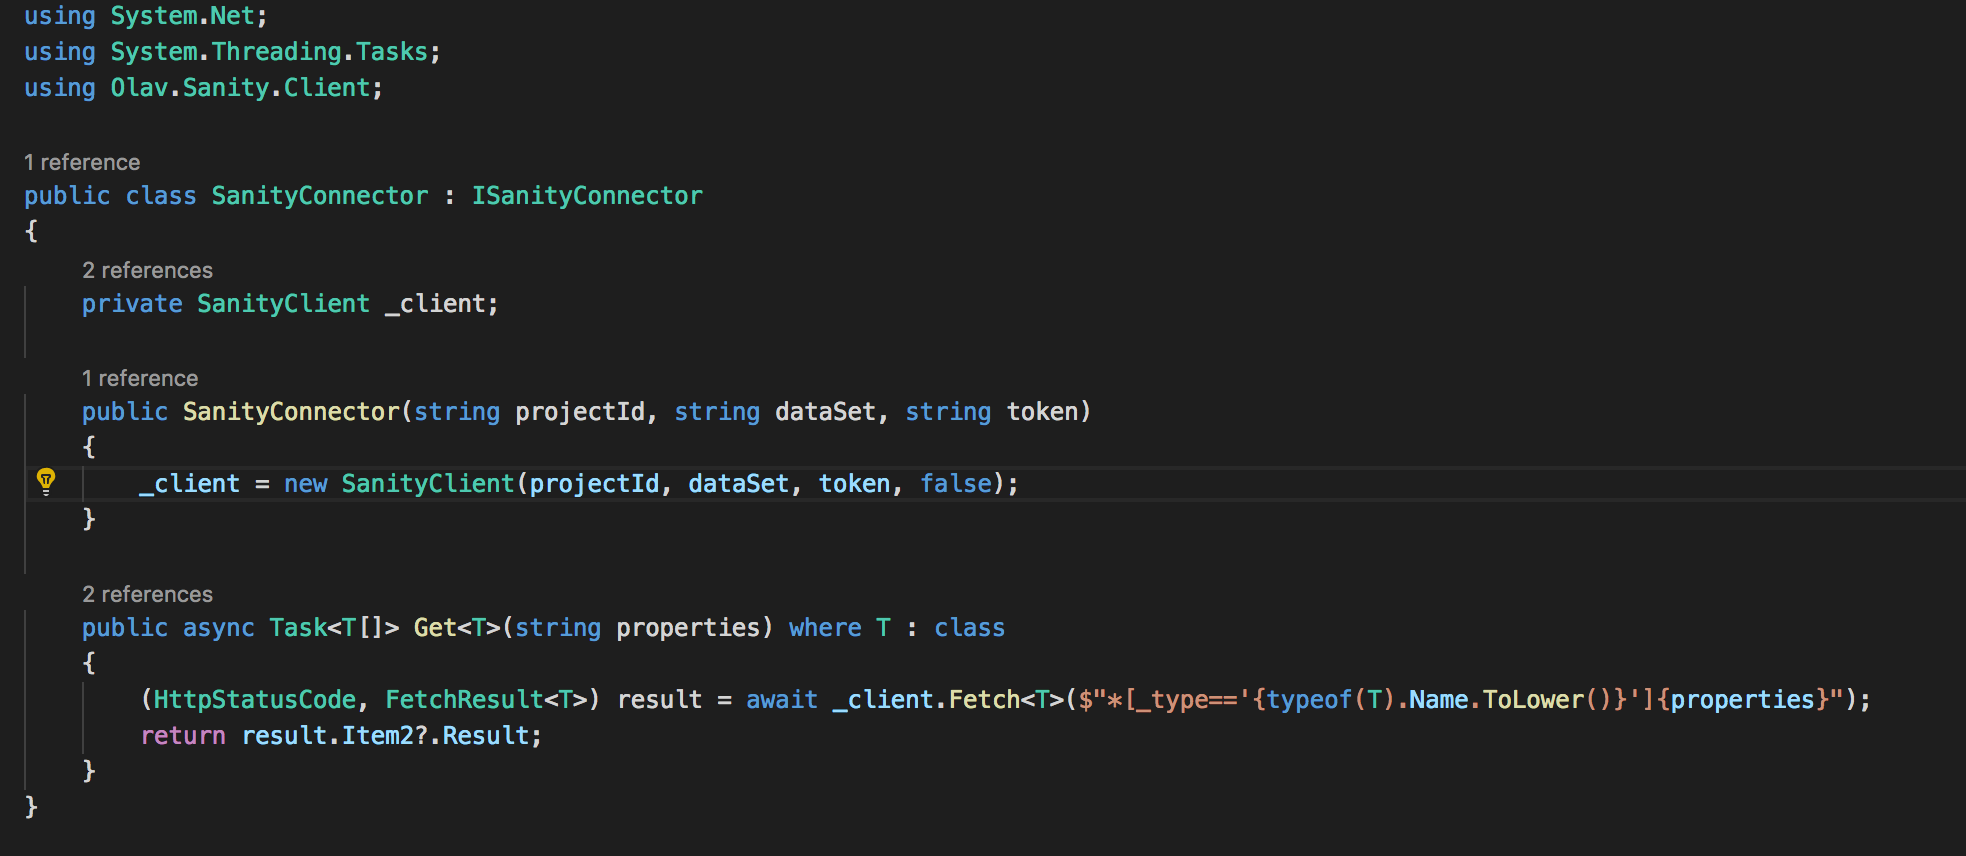
To get some data about the employees, we have hooked up an instance of the sanity-client with a generic connector:
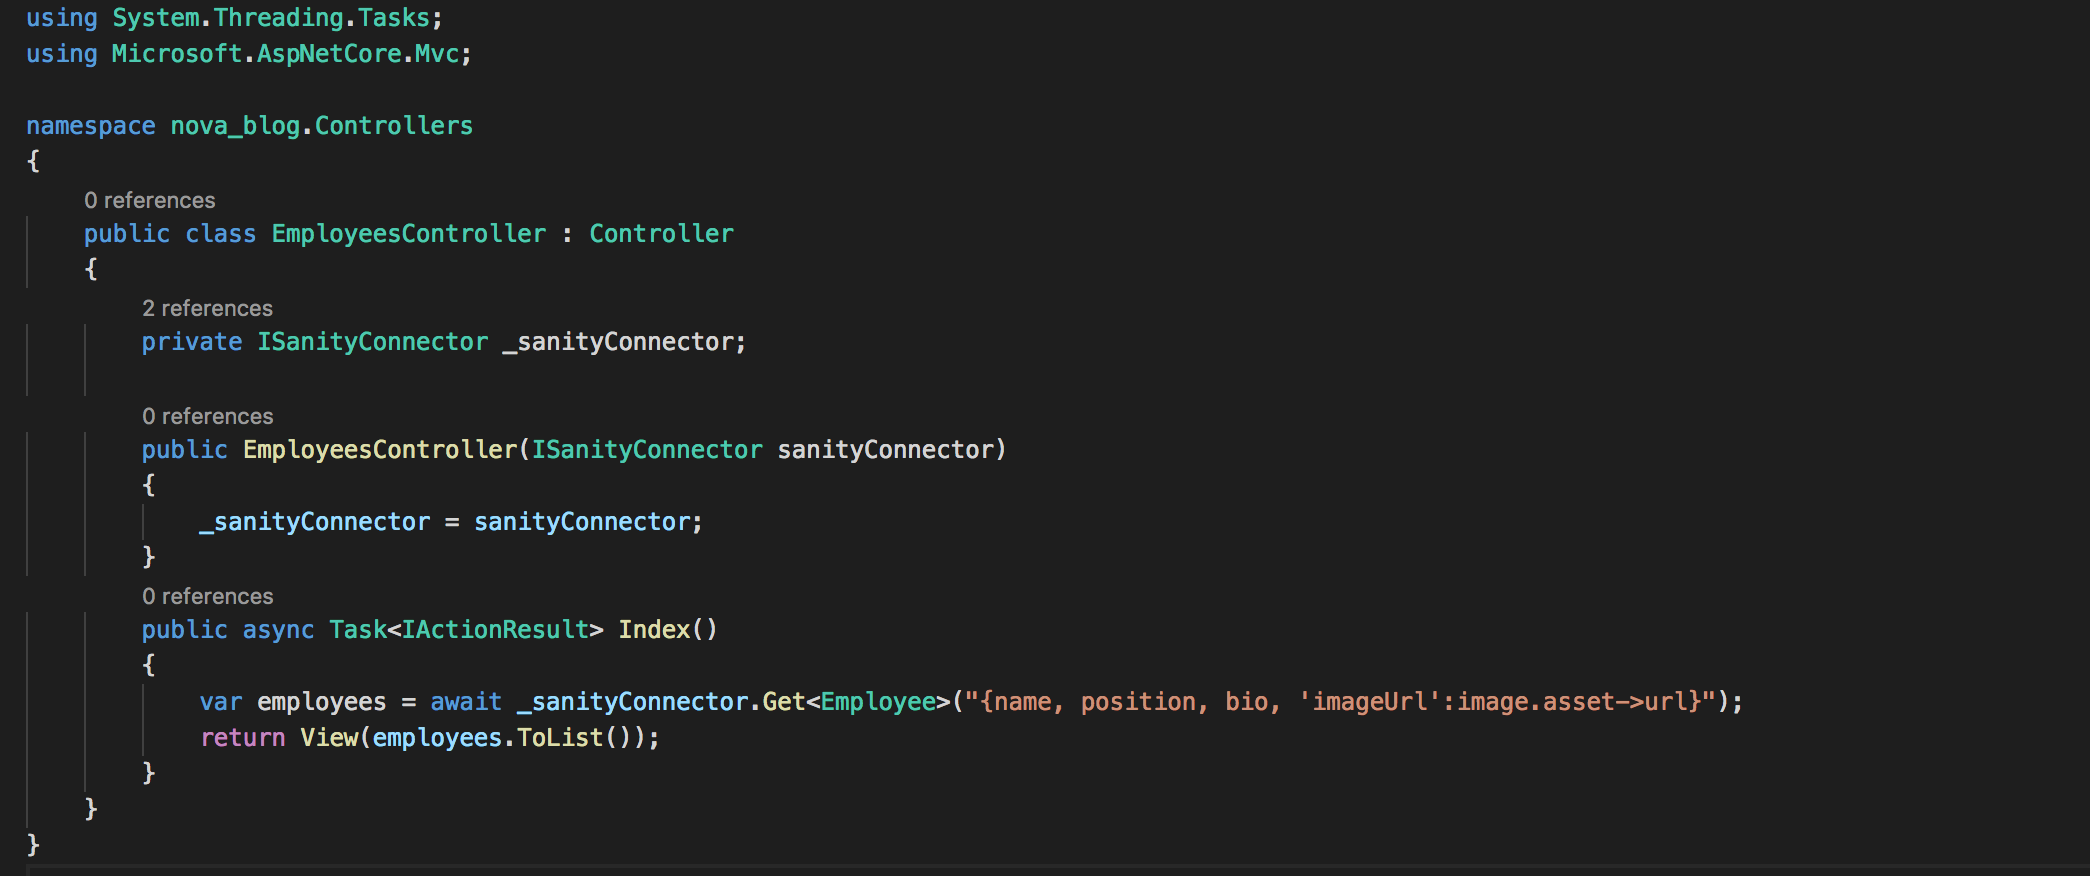
which we have used in the EmployeesController to get all the employees, with some specified properties:
Sanity provides a query language called GROQ, with various filter and sorting options.
More on that here https://www.sanity.io/docs/data-store/how-queries-work.
You query your dataset based on the schemas defined in your sanity project. To list all instances of a specific schema type, you query:
*[_type=='<schema name>']
If you need filtering, it is added to the query like so:
*[_type=='<schema name>' && someProperty > someValue]
Basically you add filters based on the properties in your schema.
So our full query for the employees list will be:
*[_type=='employee']{name, position bio, 'imageUrl': image.asset->url}
which gives us a list of employees like so:
[
 {
   "name":"Olav Nybø",
   "imageUrl":"<url>",
   "position":"Software engineer",
   "bio":"Developer from Oslo"
 },
 {
   "name":"Ingve Vikan Sund",
   "imageUrl":"<url>",
   "position":"Software engineer",
   "bio":"Oslo based developer from Ålesund."
 }
]
For basic schema types like string, number and boolean you simply add the name of the property you want to get.
For complex types, such as images, you would query 'imageUrl':image.asset->url}}', where you define a read output name that maps to the image asset as an URL.
More about schema types here https://www.sanity.io/docs/reference/schema-types.
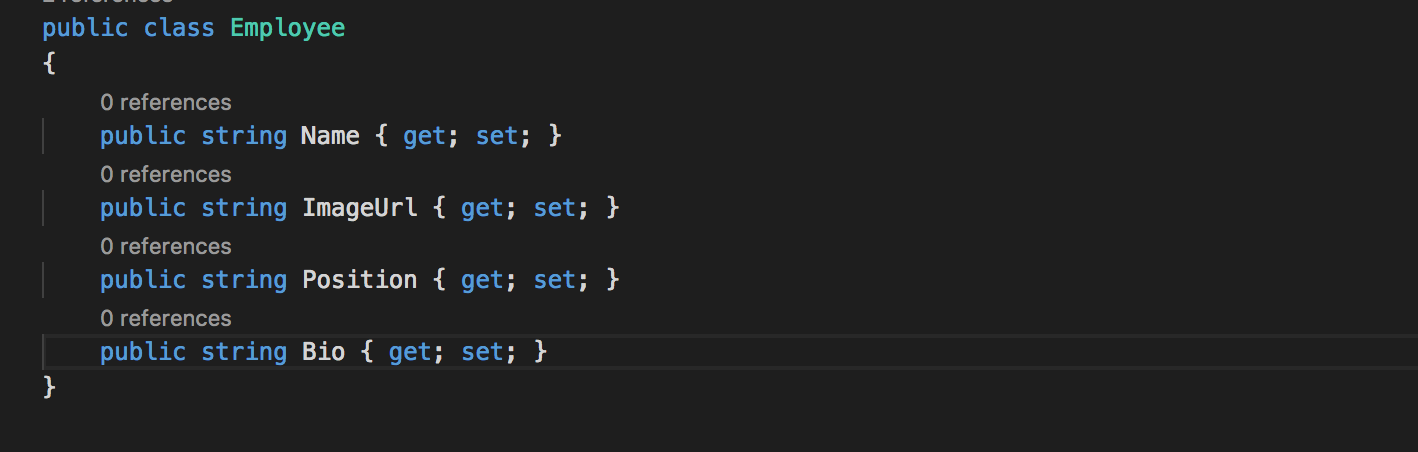
The .NET core Sanity client maps the JSON data to a C# class:
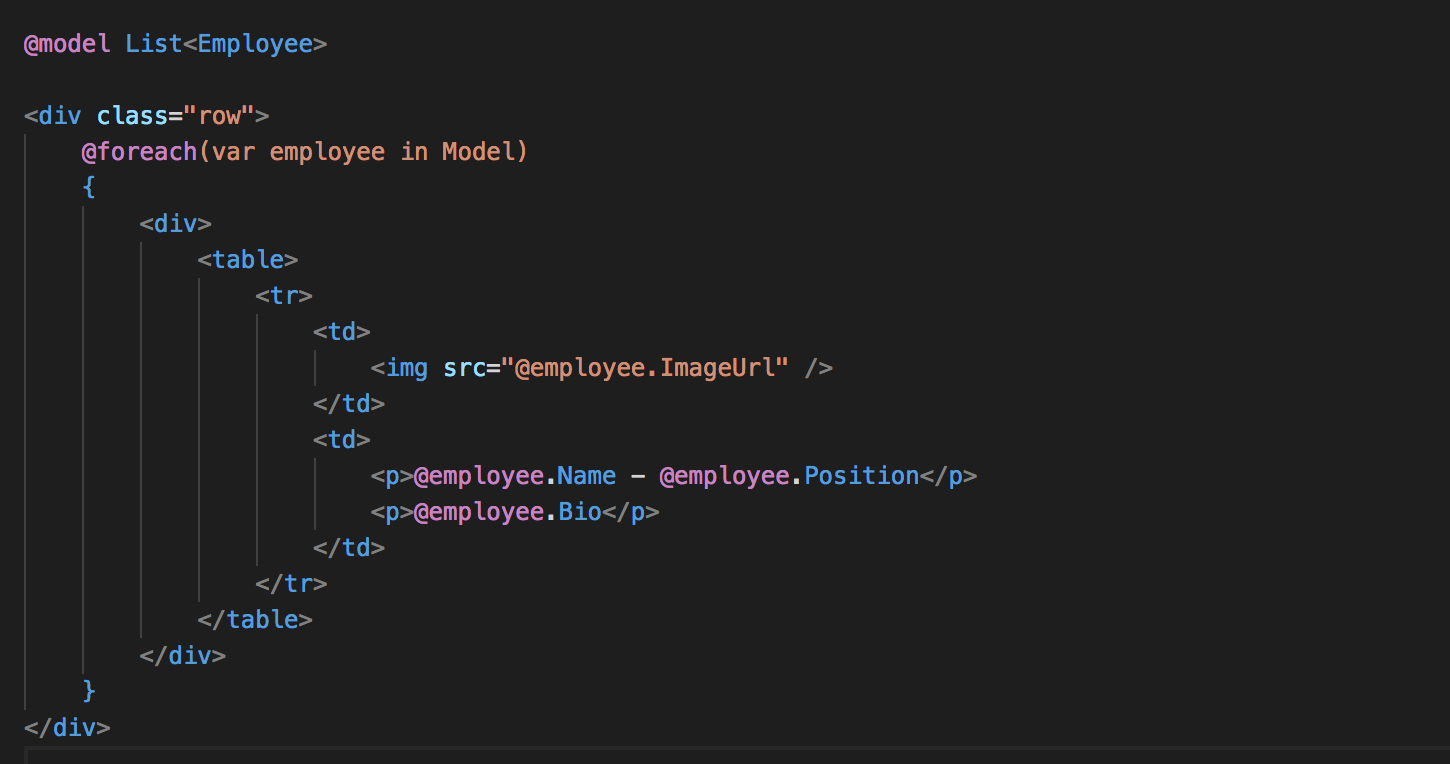
Then, in the view template, display the list of employees:
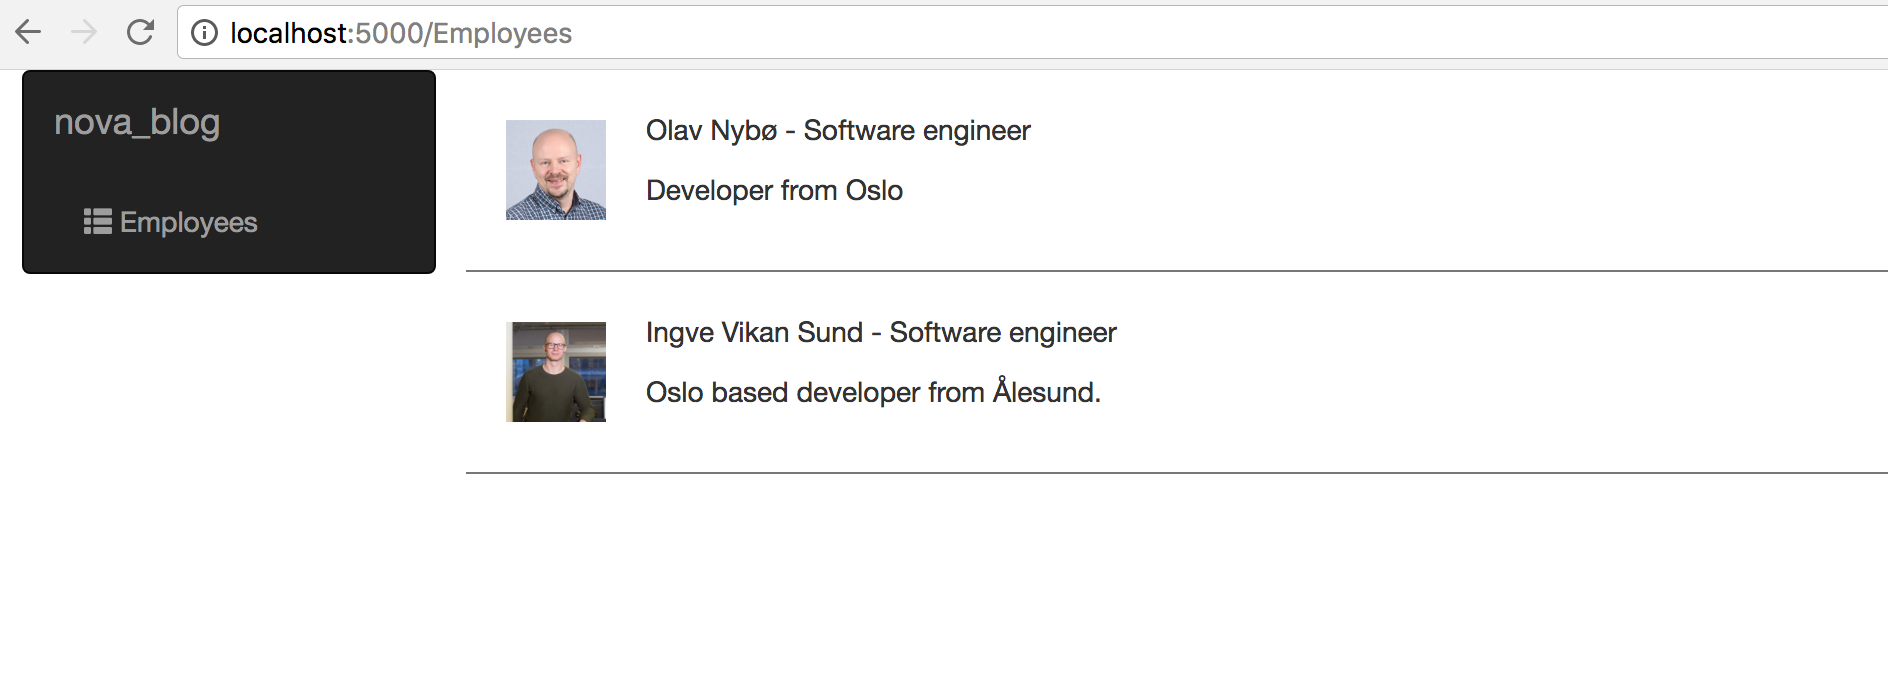
And that’s it! The website now displays a list of the employees:
Of course, you can choose to use the Javascript Sanity client directly from your frontend like so:
const sanityClient = require('@sanity/client')
const client = sanityClient({
  projectId: 'your-project-id',
  dataset: ‘your-dataset',
  token: 'sanity-auth-token',
  useCdn: true/false
});

client.fetch('*[_type=='employee'], {}).then(employees => {
this.employees = employees;
});
Links:
https://sanity.io
https://github.com/onybo/sanity-client
https://github.com/ingvevs/nova_blog
https://www.npmjs.com/package/@sanity/client
https://github.com/dotnet/cli