
A lot of projects nowadays involve working with Azure SQL Server.
When you need to test new features or fix bugs is really useful to have a copy of the production database. If you are not using Azure this usually means making a copy of the database and restoring it on a different server or under a different name.
When using Azure there is a simple solution to this by using Azure Automation with a Powershell runbook.
In this post I will walk you through creating an Azure Automation account and a Powershell runbook with the script needed to create a copy of a database with the name of your choice.
Please note that this script does not take into account sensitive data and you should make sure that you encrypt or remove the sensitive data before making a copy of the database.
You can also use an existing Azure Automation account, so you can jump to step 3 if you have already the resource created.
So, let's get to it!
1. Create an Automation account in Azure Portal
Find the Azure Automation in the Azure portal and click Create.
2. In next step edit the account details and make sure to select Yes to create a Run as account.
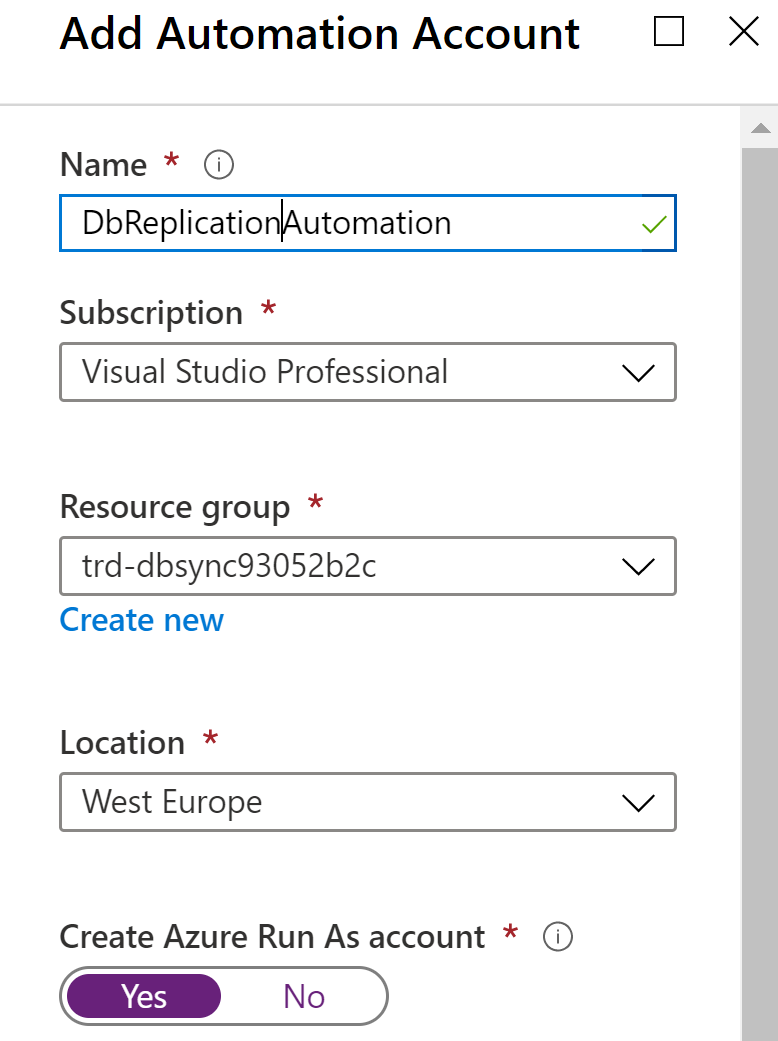
Selecting Yes for the "Run as account" means that Azure will create an AD application and service principal with the Contributor role at the subscription level! This means that the scripts run from the runbooks in the automation account will be able to create, modify or even delete resources in your subscription. Please see this link on how to limit the permissions of the Run as account.
Before we can create the Runbook we need to install these modules that we will use in our script:
- Az.Accounts
- Az.Automation
- Az.Sql
- SqlServer
The Az.Accounts, Az.Automation and Az.Sql are part of a new and recommended Azure Powershell Az module for interacting with Azure resources. More information about it can be found here.
3. Install Az modules and SqlServer modules
Open the Automation account and click on Modules:
On the open blade click on Browse gallery:
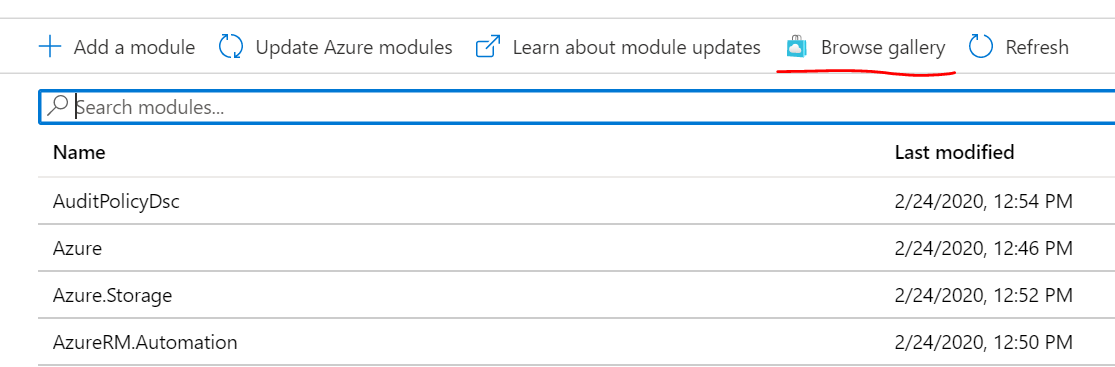
Search for the modules one by one, select it, click Import and then Ok:
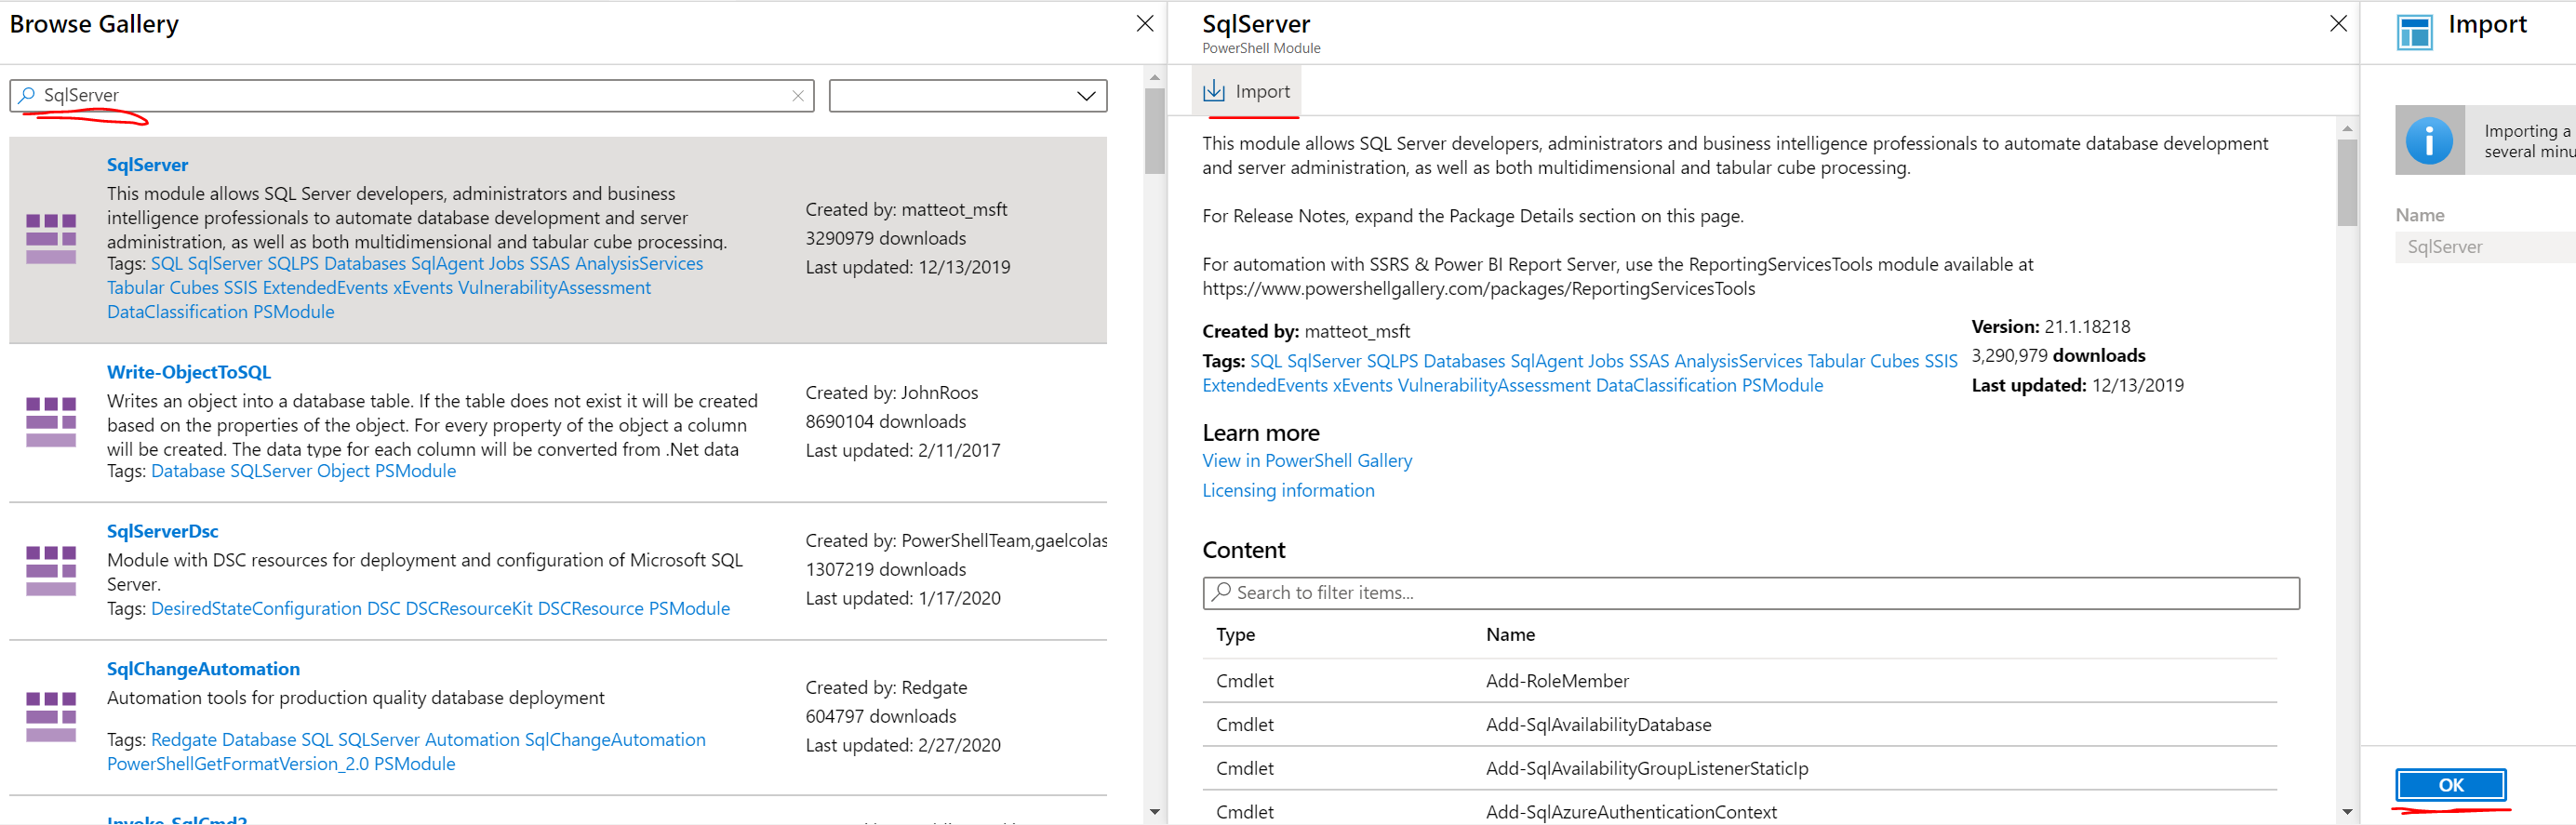
You need to import the Az.Accounts first and wait for it to be available before you can import Az.Automation and Az.Sql because the latter are dependent on the Az.Accounts.
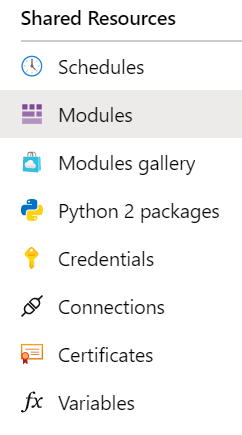
4. Create credentials with administrator rights on the SQL Server
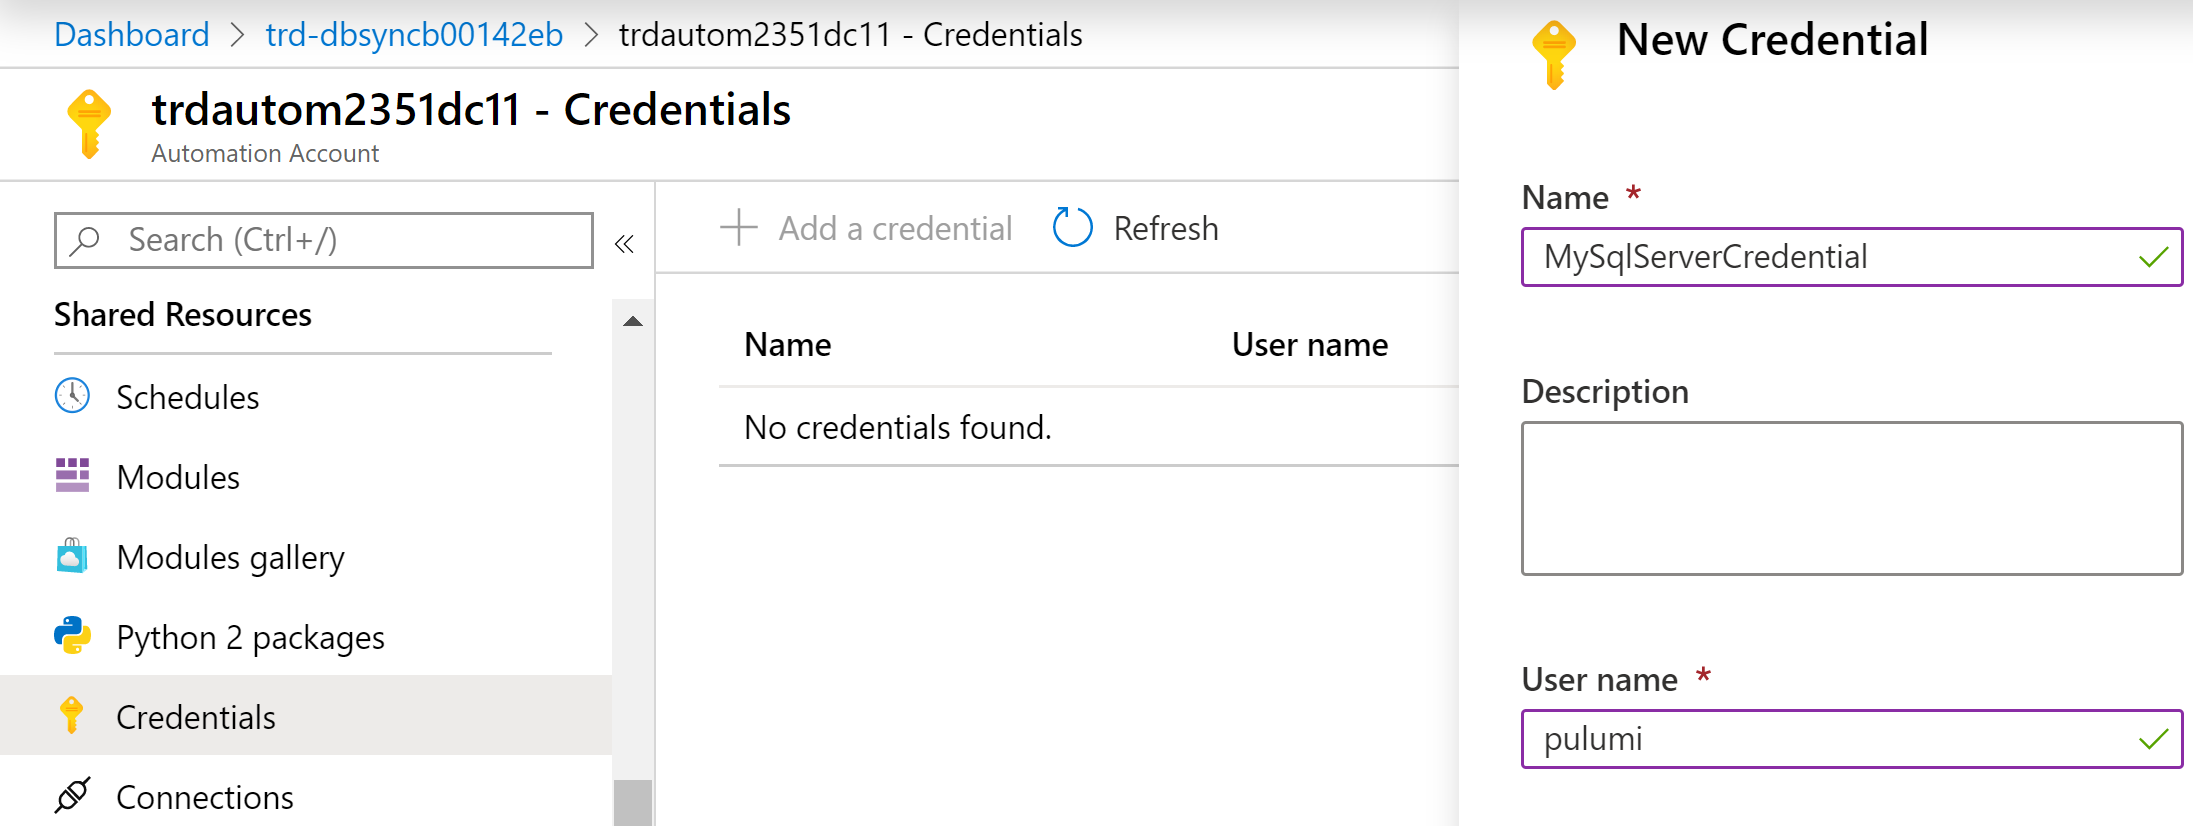
We need to create this credential so that we can make some changes on the database copy later. Go to the Credentials blade under Shared Resources in the Automation account and click on the Add credential button:
Give it a name and specify the username and password for the account that has the right permissions on the SQL Server. We will be using the Name to get this credential later in the Runbook script.
5. Create the runbook
Click on the Runbooks blade and then Create a runbook:
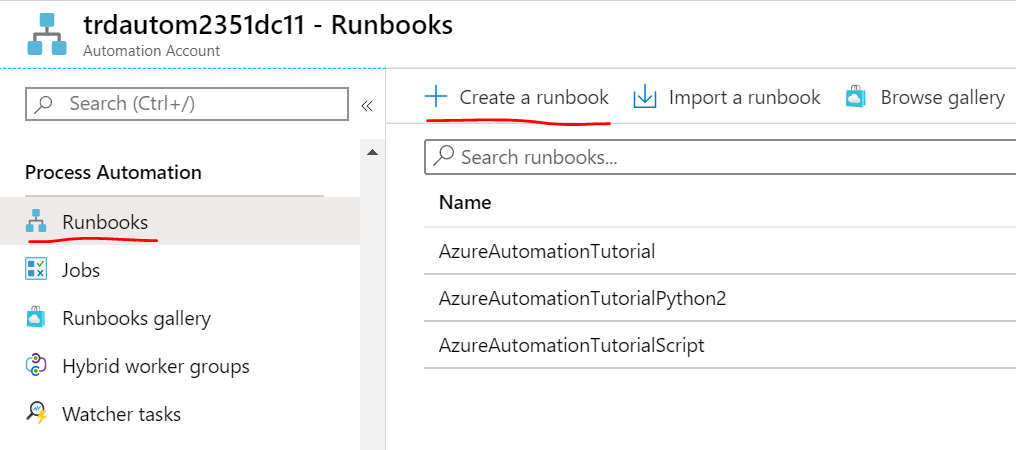
Give it a name and select Powershell for the Runbook type. Then click Create.

When the runbook is ready you will be taken directly to the code editor in Azure Portal.
We will start by declaring our input parameter, which will be our new database name, followed by the import statements.
param(
[Parameter(Mandatory = $true)]
[String]$NewDbName
)
Import-Module Az.Accounts
Import-Module Az.Automation
Import-Module Az.Sql
Import-Module sqlserver -Force
After that we declare some variables that could also be declared as parameters if you need the script to be more flexible.
$resourceGroupName = "my-sql-rg"
$serverName = "myServer"
$sourceDatabaseName = "MyProdDb"
$username = "devuser"
$password = "tHfert35###"
$schema = "dbo"
We then declare a variable that will hold the name of the Run as account defined when we created the automation account:
$connectionName = "AzureRunAsConnection"
We are going to wrap our script in a try-catch so that in case of an error we can find out what happened:
try {
}
catch {
Write-Error -Message $_.Exception
throw $_.Exception
}
The first line of code in the try-catch block will get a reference to the "Run as" connection:
$servicePrincipalConnection=Get-AutomationConnection -Name $connectionName
With the information returned we will connect to Azure from the script and set the working subscription to the one returned from the connection:
Connect-AzAccount -ServicePrincipal -TenantId $servicePrincipalConnection.TenantId -ApplicationId $servicePrincipalConnection.ApplicationId -CertificateThumbprint $servicePrincipalConnection.CertificateThumbprint -SubscriptionId $servicePrincipalConnection.SubscriptionId
#Set SQL subscription as the working subscription
Get-AzSubscription -TenantId $servicePrincipalConnection.TenantId -SubscriptionId $servicePrincipalConnection.SubscriptionId | Set-AzContext
We then need to check if the database that we try to create does not already exists. We try to get the database details by using Get-AzSqlDatabase cmdlet and setting SilentlyContinue in case of error:
$replicaDb = (Get-AzSqlDatabase -ResourceGroupName $resourceGroupName -DatabaseName $NewDbName -ServerName $serverName -ErrorAction SilentlyContinue)
If the db does not exist the script will not throw an error and it will continue executing. If the resulting object ($replicaDb) is not null we will remove that database:
if($replicaDb)
{
    "Removing existing db..."
    Remove-AzSqlDatabase -ResourceGroupName $resourceGroupName -DatabaseName $NewDbName -ServerName $serverName
}
To create a new database we just use the New-AzSqlDatabaseCopy cmdlet:
New-AzSqlDatabaseCopy -ResourceGroupName $resourceGroupName -ServerName $serverName -DatabaseName $sourceDatabaseName -CopyResourceGroupName $resourceGroupName -CopyServerName $serverName -CopyDatabaseName $destinationDatabaseName
At his point we have created a copy of the database, but we can access it only using some credentials that were working on the source database, which might not be desirable since this could be a production db.
So next step is to create a SQL script that will add a new user to the new database copy:
    $sql =@"
            IF NOT EXISTS(SELECT * FROM sys.database_principals WHERE NAME = '$username')
            BEGIN
                CREATE USER $username WITH PASSWORD = '$password';
                ALTER USER $username WITH DEFAULT_SCHEMA = $schema;
            END

          EXEC sp_addrolemember 'db_owner', '$username';
"@
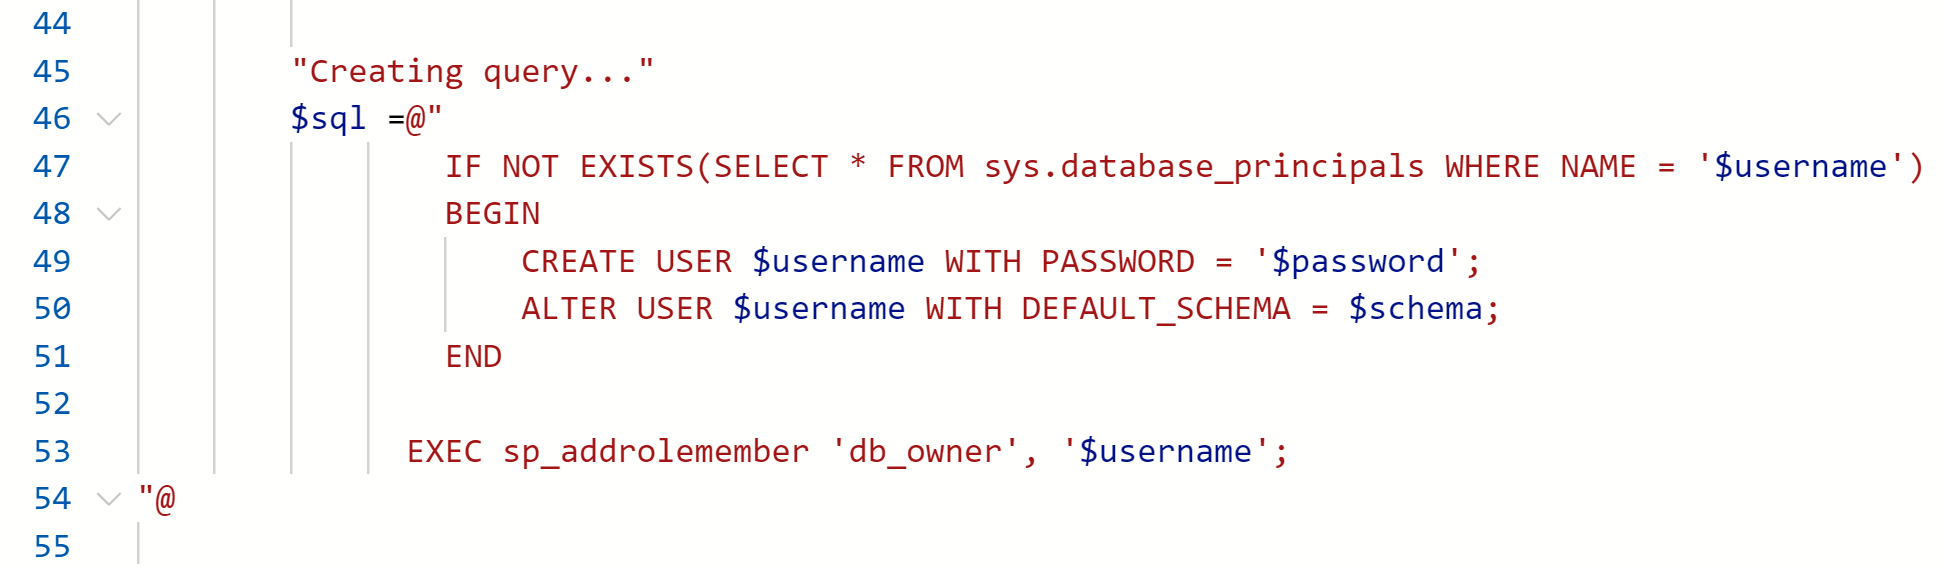
It is very important to write this script correctly as you will get the error message "White space is not allowed before the string terminator." if it is not properly formatted. This is how it should look like in the Azure Portal (note the last "@):
Next, we get the reference to the credential that we created in step 4:
$sqlCredential = Get-AutomationPSCredential -Name "MySqlServerCredential"
The last part of the script will invoke the SQL script with the Invoke-SqlCmd cmdlet:
$Params = @{
'ServerInstance' = 'trdsqlsrvf42cfd.database.windows.net';
'Database' = $destinationDatabaseName;
'Username' = $sqlCredential.UserName;
'Password' = $sqlCredential.GetNetworkCredential().Password;
'Query' = $sql
}
"Invoke sqlcmd..."
Invoke-Sqlcmd @Params
There is just a little catch here, the ServerInstance has to be the full SQL Server name, not just the part that we declared as a variable.
The final script should look like this:
param(
[Parameter(Mandatory = $true)]
[String]$NewDbName
)
Import-Module Az.Accounts
Import-Module Az.Automation
Import-Module Az.Sql
Import-Module sqlserver -Force
$resourceGroupName = "my-sql-rg"
$serverName = "myServer"
$sourceDatabaseName = "Kjedereg"
$username = "devuser"
$password = "thfert35"
$schema = "dbo"
$connectionName = "AzureRunAsConnection"
try {
# Get the connection "AzureRunAsConnection "
$servicePrincipalConnection=Get-AutomationConnection -Name $connectionName
"Logging in to Azure..."
Connect-AzAccount -ServicePrincipal -TenantId $servicePrincipalConnection.TenantId -ApplicationId $servicePrincipalConnection.ApplicationId -CertificateThumbprint $servicePrincipalConnection.CertificateThumbprint -SubscriptionId $servicePrincipalConnection.SubscriptionId

#Set SQL subscription as the working subscription
Get-AzSubscription -TenantId $servicePrincipalConnection.TenantId -SubscriptionId $servicePrincipalConnection.SubscriptionId | Set-AzContext

$replicaDb = (Get-AzSqlDatabase -ResourceGroupName $resourceGroupName -DatabaseName $NewDbName -ServerName $serverName -ErrorAction SilentlyContinue)

if($replicaDb)
{
    "Removing existing db..."
    Remove-AzSqlDatabase -ResourceGroupName $resourceGroupName -DatabaseName $NewDbName -ServerName $serverName
}

"Creating new database replica..."
New-AzSqlDatabaseCopy -ResourceGroupName $resourceGroupName -ServerName $serverName -DatabaseName $sourceDatabaseName -CopyResourceGroupName $resourceGroupName -CopyServerName $serverName -CopyDatabaseName $NewDbName

"Creating query..."
    $sql =@"
            IF NOT EXISTS(SELECT * FROM sys.database_principals WHERE NAME = '$username')
            BEGIN
                CREATE USER $username WITH PASSWORD = '$password';
                ALTER USER $username WITH DEFAULT_SCHEMA = $schema;
            END

          EXEC sp_addrolemember 'db_owner', '$username';
"@
"Getting Automation PS Credential..."
$sqlCredential = Get-AutomationPSCredential -Name "MySqlServerCredential"
$Params = @{
'ServerInstance' = 'trdsqlsrvf42cfd56.database.windows.net';
'Database' = $NewDbName;
'Username' = $sqlCredential.UserName;
'Password' = $sqlCredential.GetNetworkCredential().Password;
'Query' = $sql
}
"Invoke sqlcmd..."
Invoke-Sqlcmd @Params
}
catch {
Write-Error -Message $_.Exception
throw $_.Exception
}
When running the script you might get an error saying that the IP address does not have access to the SQL Server. In this case you have to add the IP address in the server's firewall.
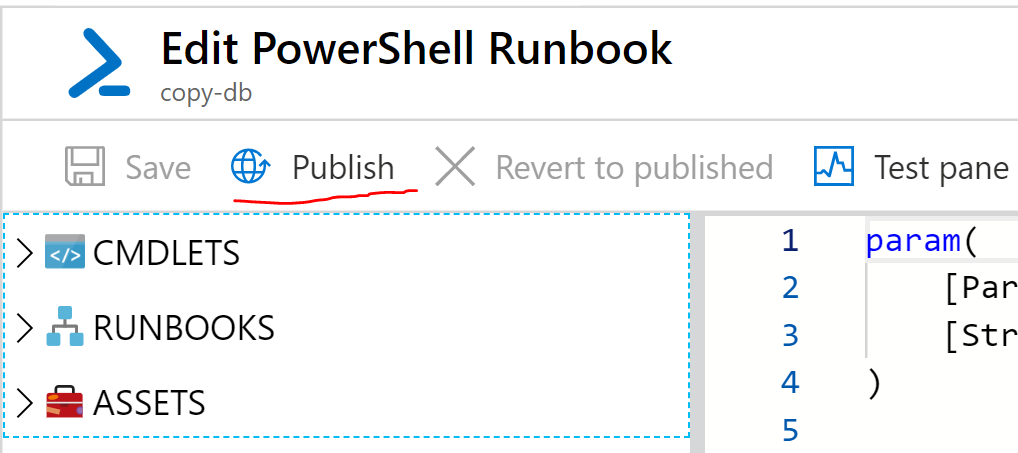
When you are done editing and testing the script, remember to click the Publish button:
Summary
As we can see, Azure Automation is a great tool to automate the creation (or duplication in our case) of Azure infrastructure that can save us a lot of hours of redundant work.